08 - Stadium Camera Photos
 Previous Article: 07 - How to Use Stadium Ramp
Previous Article: 07 - How to Use Stadium Ramp
Photos the Stadium Camera Captures
The Stadium Document Camera takes the following photos: Document, File, Stadium, Standard and Manifest. There is a button for each photo type at the bottom of the live view for the stadium camera as shown.
Stadium Photo – Photo taken of the content with 90-100% capture achieved by removing the content of the box and fanning the files to view each file label. Please refer to Test Configuration section for instructions on how to position the stadium camera for capturing stadium photos.
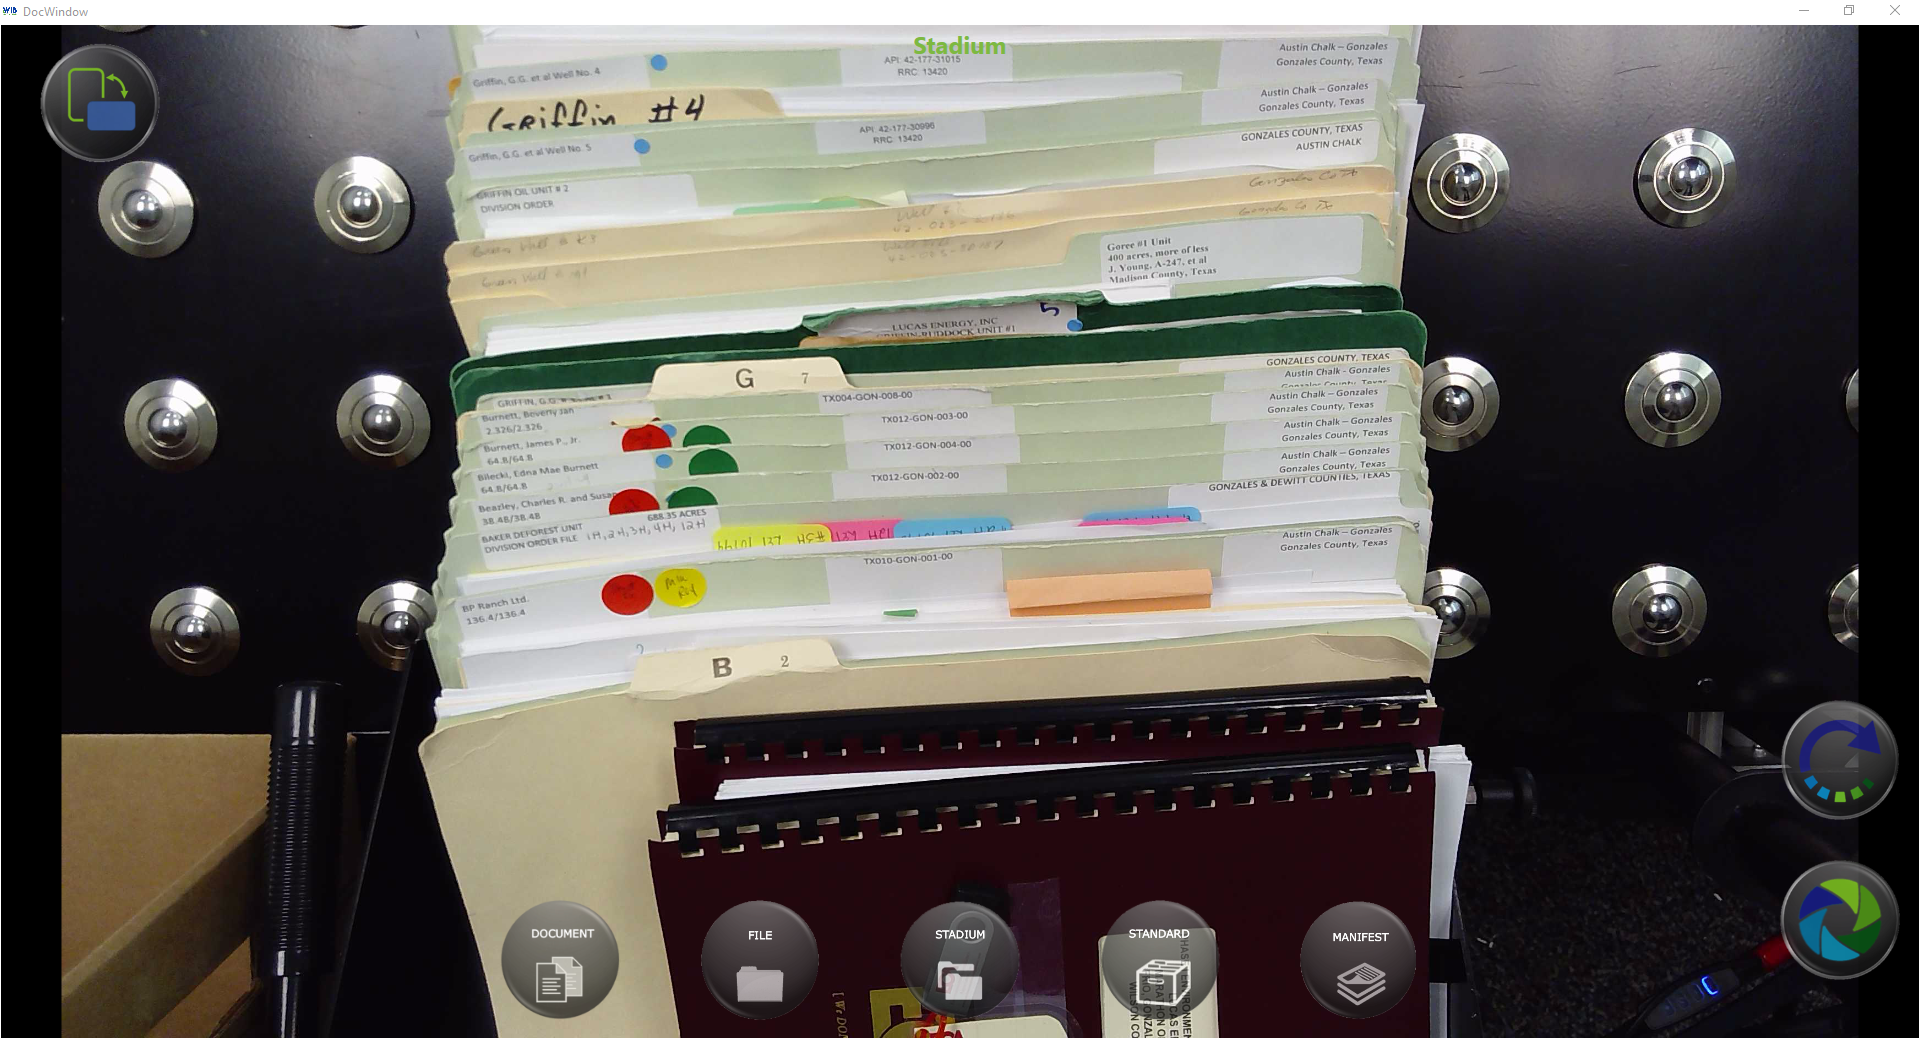
Position the camera so that all the files are in view and each of the labels can be seen as shown.
 If needed, the operator can change the view to portrait using the orientation button in the top left corner. The operator can then change the physical orientation of the monitor to landscape.
 The operator can rotate the image so the maximum view in portrait mode can be achieved.

Use the Stadium Document Camera to Capture Individual Files, Documents and/or pages of a Manifest
To capture Individual Files, Documents or pages of a Manifest, position an empty box below the stadium camera just in front of the stadium ramp. This brings the object closer to the camera and provides a better view of the record. Select the appropriate image type from the buttons along the bottom of the live view for the stadium Camera.
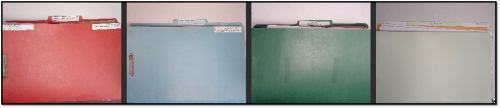
File Photos – Photo taken of each file/binder in a box to achieve a guaranteed 100% capture of the content.
Next Article: 09 - Review Images from Image Strip
Next Article: 09 - Review Images from Image Strip